From Idea to Masterpiece: Step-by-Step Silver Ring Making Process
Experience the art of turning raw sterling silver into a handcrafted piece of jewelry you can proudly wear. Guided step-by-step by experienced local Balinese silversmiths:
1. Design & Planning
Your journey begins with an idea! Choose a design from our gallery or bring your own reference—whether it’s minimalist, classic Balinese engraving, or a textured band. Our instructors will assist with finger sizing and calculating the precise amount of silver needed.
2. Melting
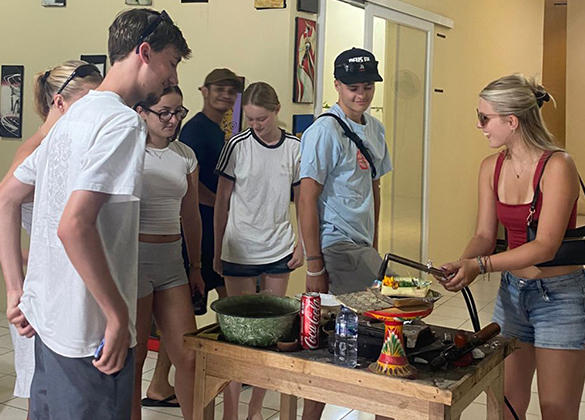
Step into the traditional process by melting pure 925 sterling silver grains in a crucible using a blowtorch. Once molten, the liquid silver is poured into an ingot mold to create a solid silver rod.
3. Forming & Bending
After cooling, the silver rod is passed through a rolling mill to achieve the desired thickness and profile. It is then carefully bent around a ring mandrel to form a rounded band.
4. Soldering
To join the two ends securely, silver solder is applied to the seam and heated with a torch. This step ensures a strong, seamless bond and a durable structure.
5. Sizing & Texturing
The ring is shaped and sized precisely using a specialized mallet. At this stage, you can add custom textures to the surface—such as a hammered finish, carved lines, or personalized details based on your design.
6. Sanding & Filing
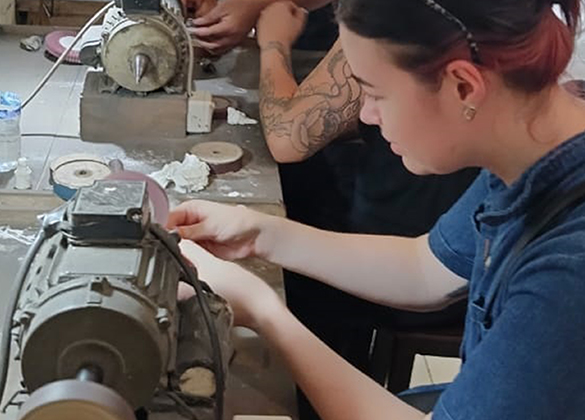
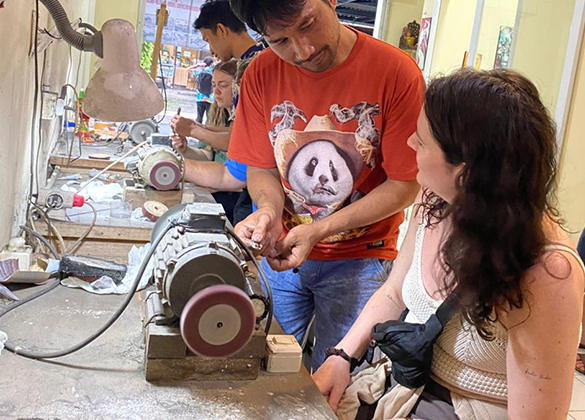
Any rough edges or excess solder are smoothed away using files and progressive grits of sandpaper (from coarse to fine). This step removes scratches and ensures the ring is smooth and comfortable to wear.
7. Polishing & Finishing
The final, most satisfying step! Your ring is polished on a polishing wheel using special compounds to achieve a brilliant high-shine luster or a sleek matte/satin finish. Your custom handcrafted silver ring is now complete and ready to wear!